Thorough surface preparation is the secret to the success of the antifouling job you are about to undertake. Well applied coatings will protect your boat from marine growth, and protect your hull from the harsh salt water environment. Poor preparation & workmanship result in poor performance, coating failures and expensive repairs.
WATER BLAST
Pressure wash with water the surfaces to be painted to remove salts, slime, marine growth & failed coatings. The higher the water pressure you can use, the better, as this will reduce your overall workload. Ideally pressure should be 3,500 – 4,000 psi.
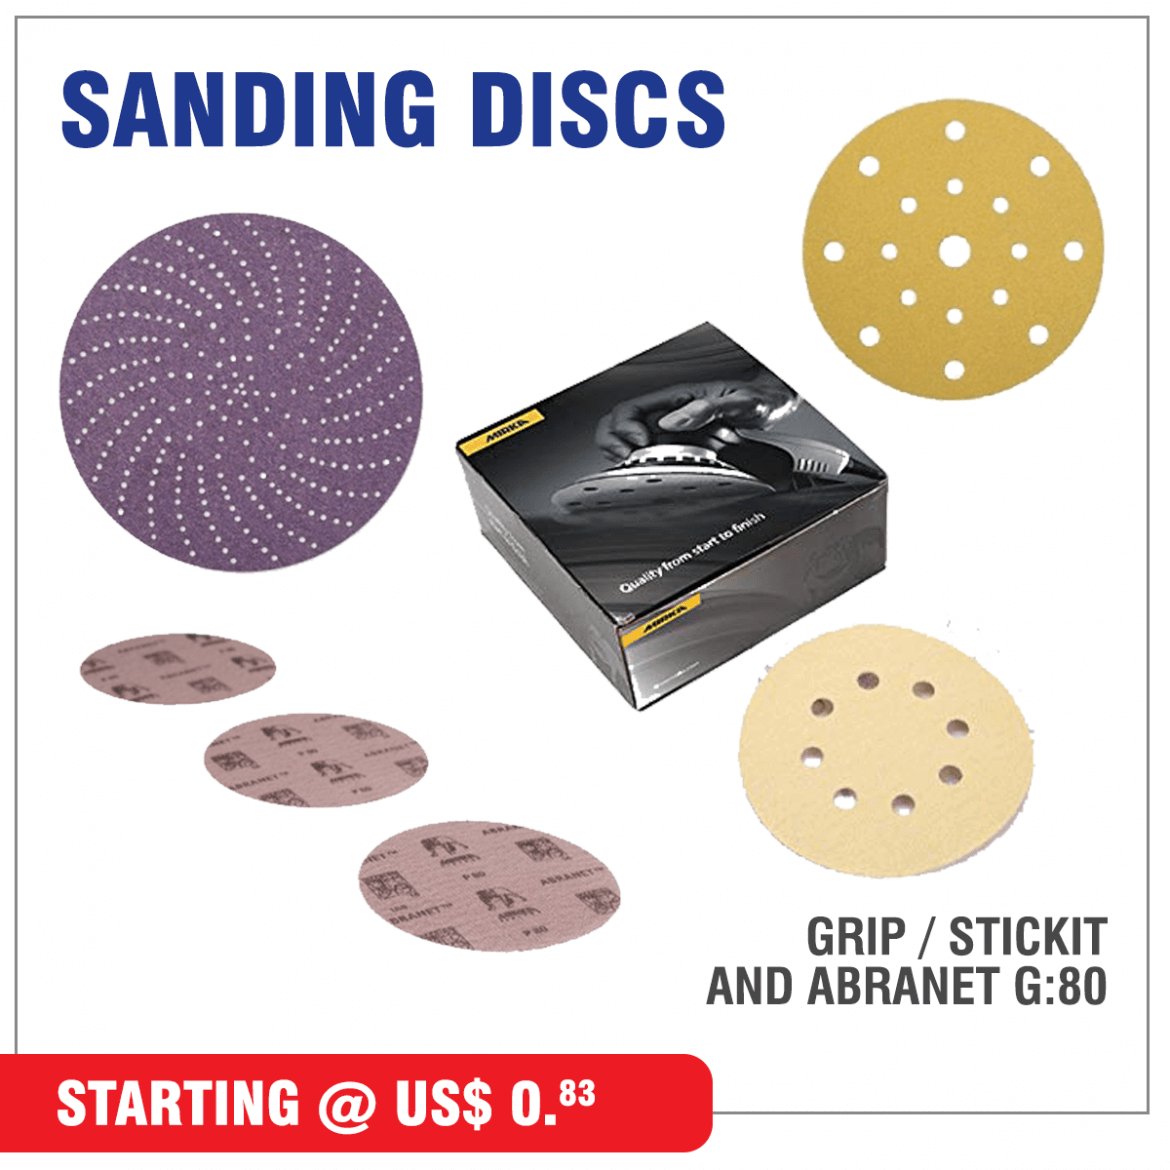
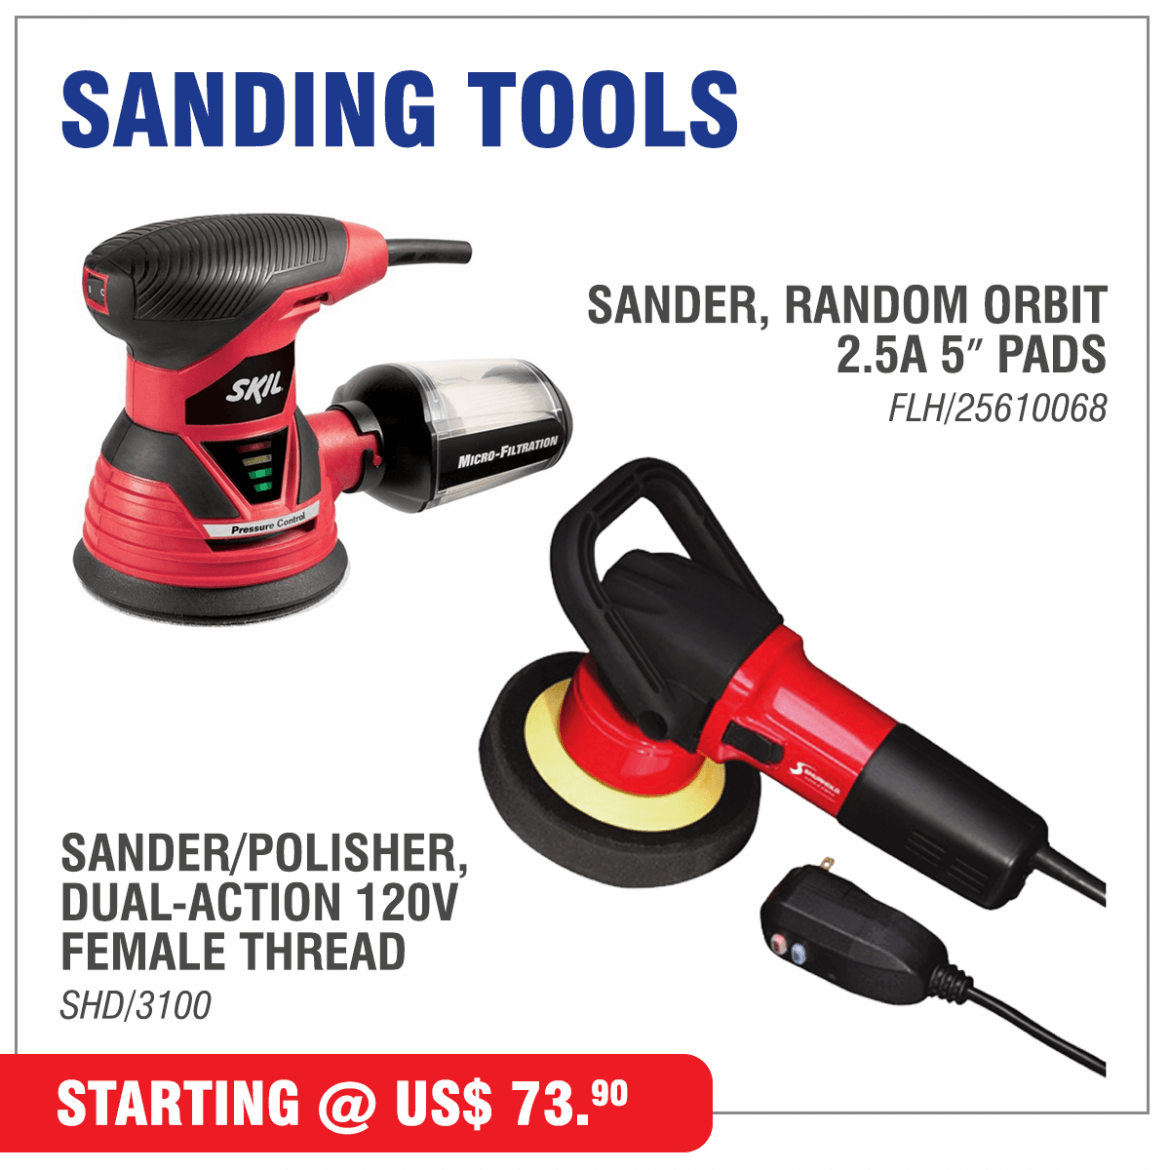
After water cleaning, all antifouled surfaces should be thoroughly wet sanded with 80 grit wet & dry paper using a pole sander to remove any remaining, hydrolyzed (spent) antifouling and residual slime. Rinse thoroughly to remove all sanding residues. The sanded surface, once dry, should be free of any antifouling dust, free of residual slime, and a clearly discernible surface profile should be evident in the aged coatings. Use a disc grinder, soft pad, orbital sander, or similar, with an 80 grit (non-metallic) pad to remove:
• any broken or sharp edges, so that all coatings have beveled edges.
• any blisters and sand back pitted areas
• all poorly adhering coatings
• any crazy cracking
AND ENSURE:
• all exposed old primers/undercoats are abraded
• all exposed substrate is well abraded to achieve a clearly discernible surface profile. Both steel and aluminum must exhibit clean, bright metal, again with a well defined surface profile. Avoid polishing the surface. Pay particular attention to the waterline area, where the wet/dry cycle, and the exposure to the sun causes the antifouling to crazy crack. Sand these areas thoroughly.
DEDUST
With either clean compressed air, vacuum or use a clean soft brush. Do not use rags to dedust as any lint that “hooks” onto the surface may create a wick that can interfere with coating performance.
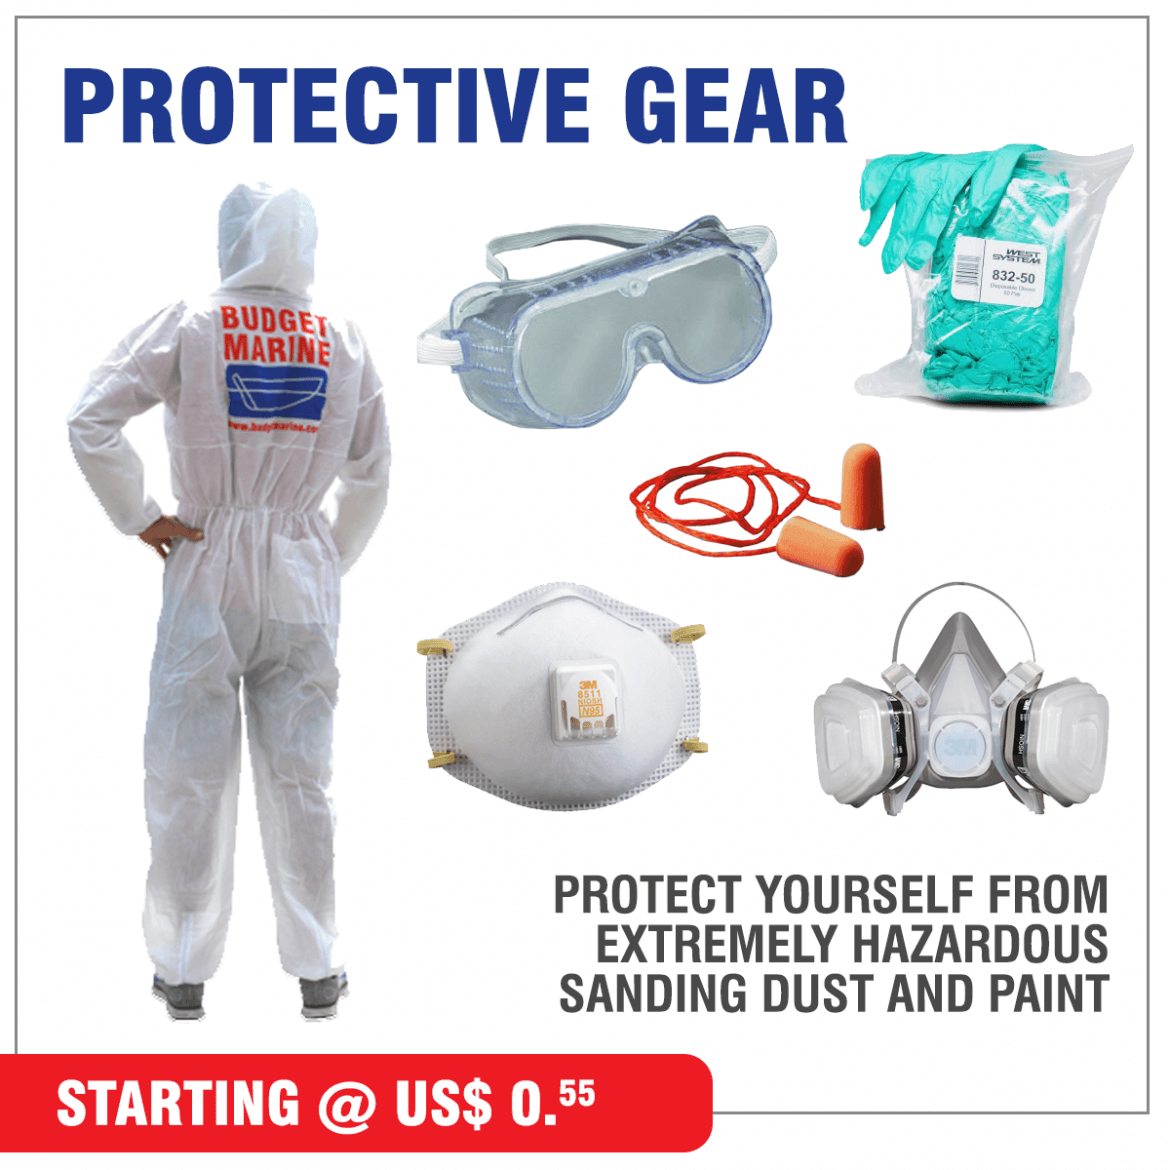
Antifouling dust is extremely hazardous. The only safe DIY options are wet sanding, or stripping with a chemical stripper that’s formulated for use on fiberglass. Even then full protective clothing, including goggles and an effective face mask is vital.
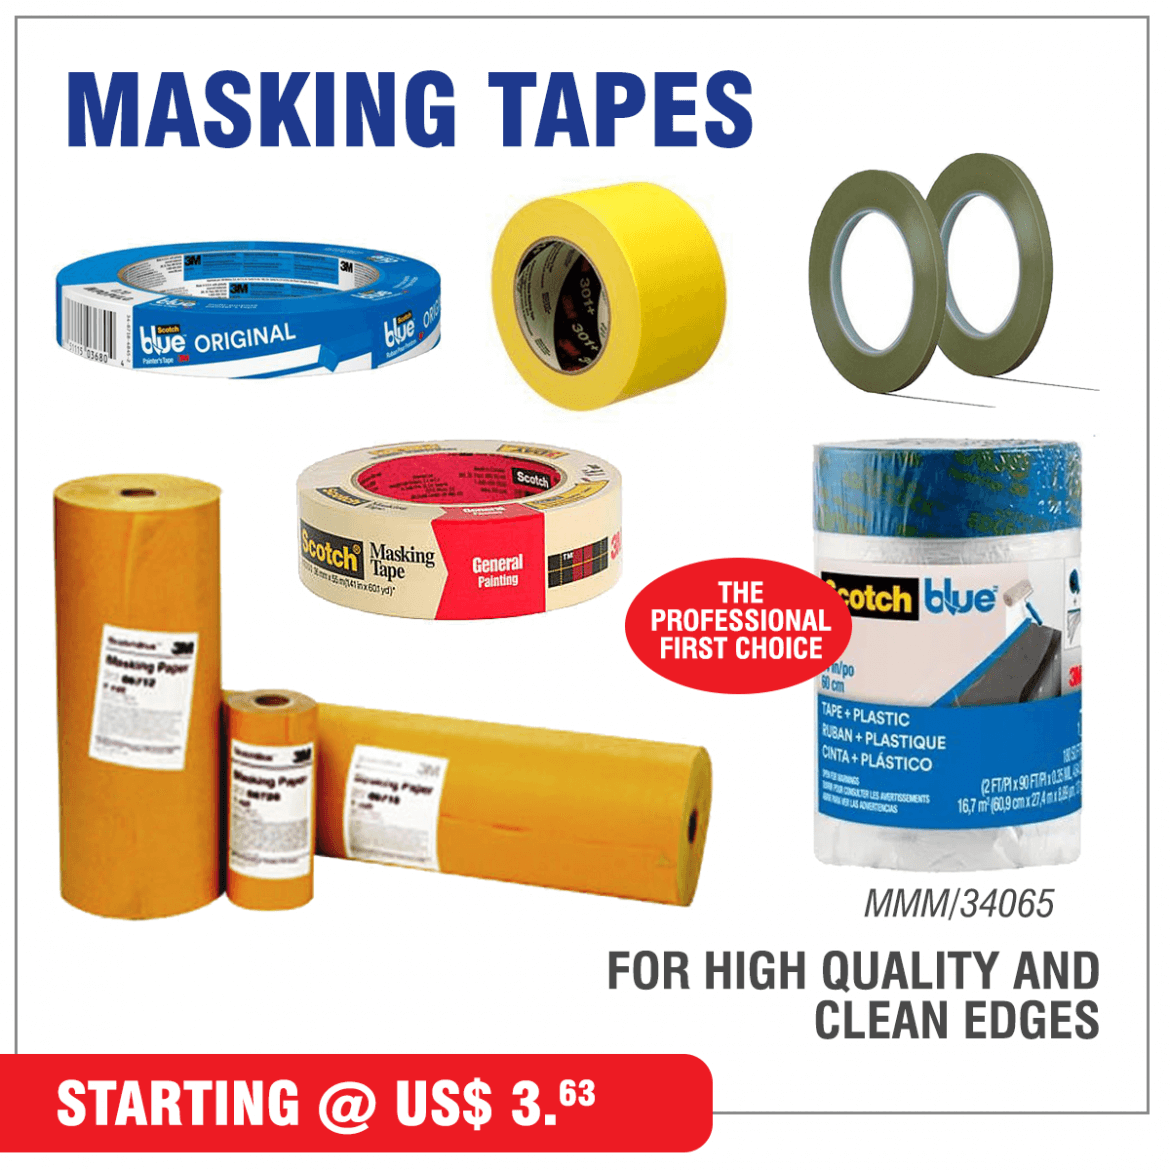
When it is necessary to mask off areas use a high quality clean edge masking tape, especially when the masking tape will be left on the surface for a long time.
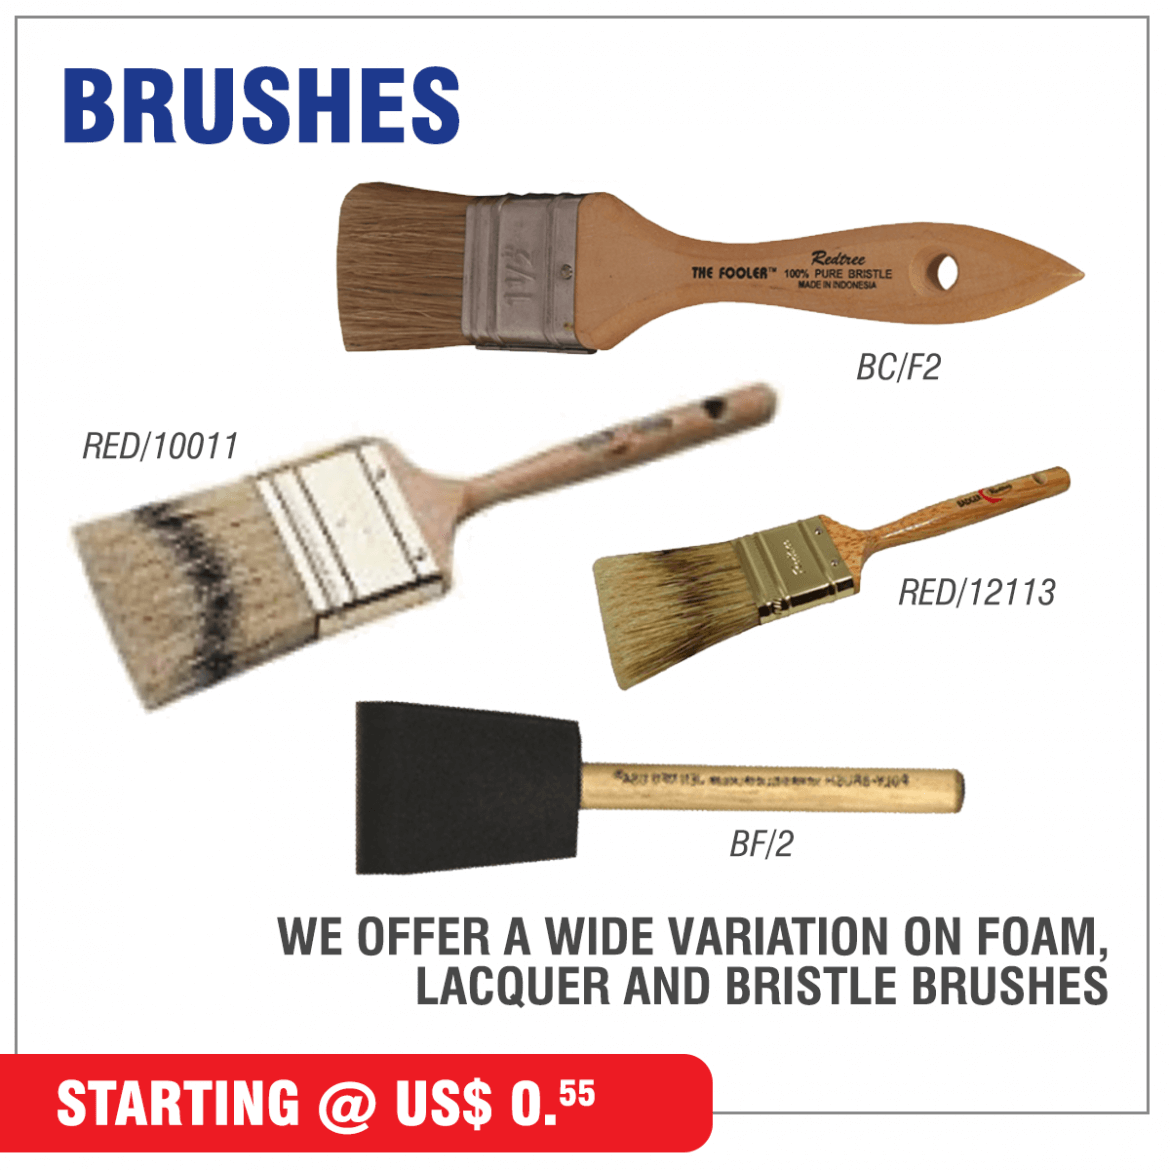
For antifouling paints use a natural bristle brush, but not necessarily one of as good a quality as you would use to apply topside finishes.
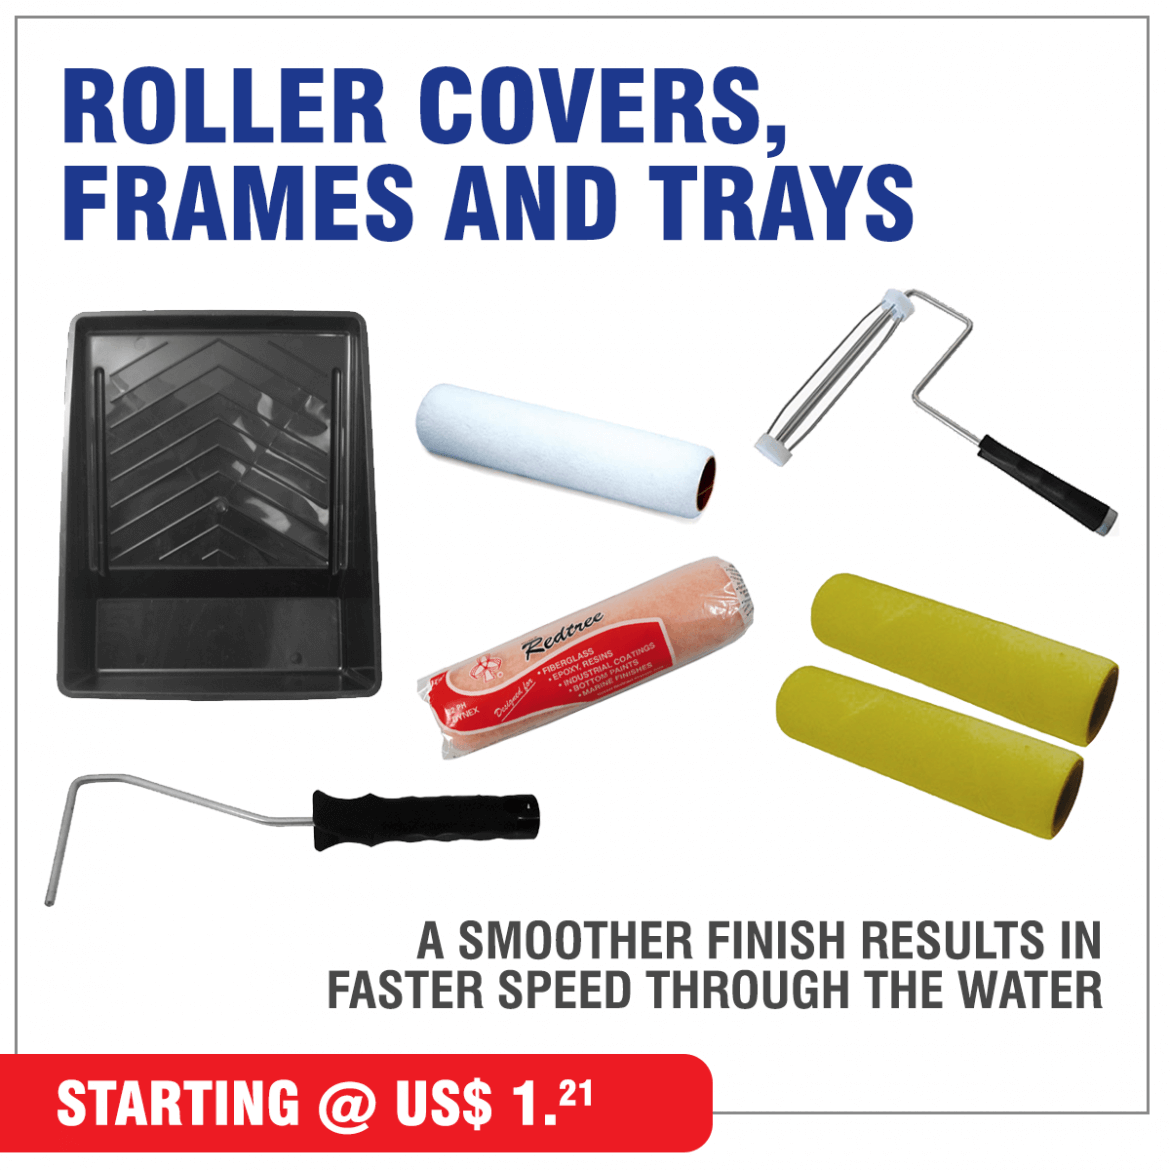
Many bottom paint manufacturers recommend using a 3/8″ nap roller. A 3/8″ nap will apply a thick coat and an orange peel-type finish because of the heavy nap of the roller. On ablative paints, that orange peel texture will smooth out some as the boat moves in the water.
A smooth, slick finish results in faster speed through the water. If you want a smoother finish, use a 3/16″ to 1/4″ nap roller.
A foam roller can be used, but foam rollers lay down a thinner coat of paint. You’ll have to build up proper mil thickness, as specified by the bottom paint manufacturer, in order to get proper antifouling protection from your bottom paint. Building mil thickness with a foam roller will require applying an additional coat(s). Ideally, you should use a solvent-safe foam roller cover. This type of roller cover is constructed so it won’t fall apart when applying solvent-based paints.
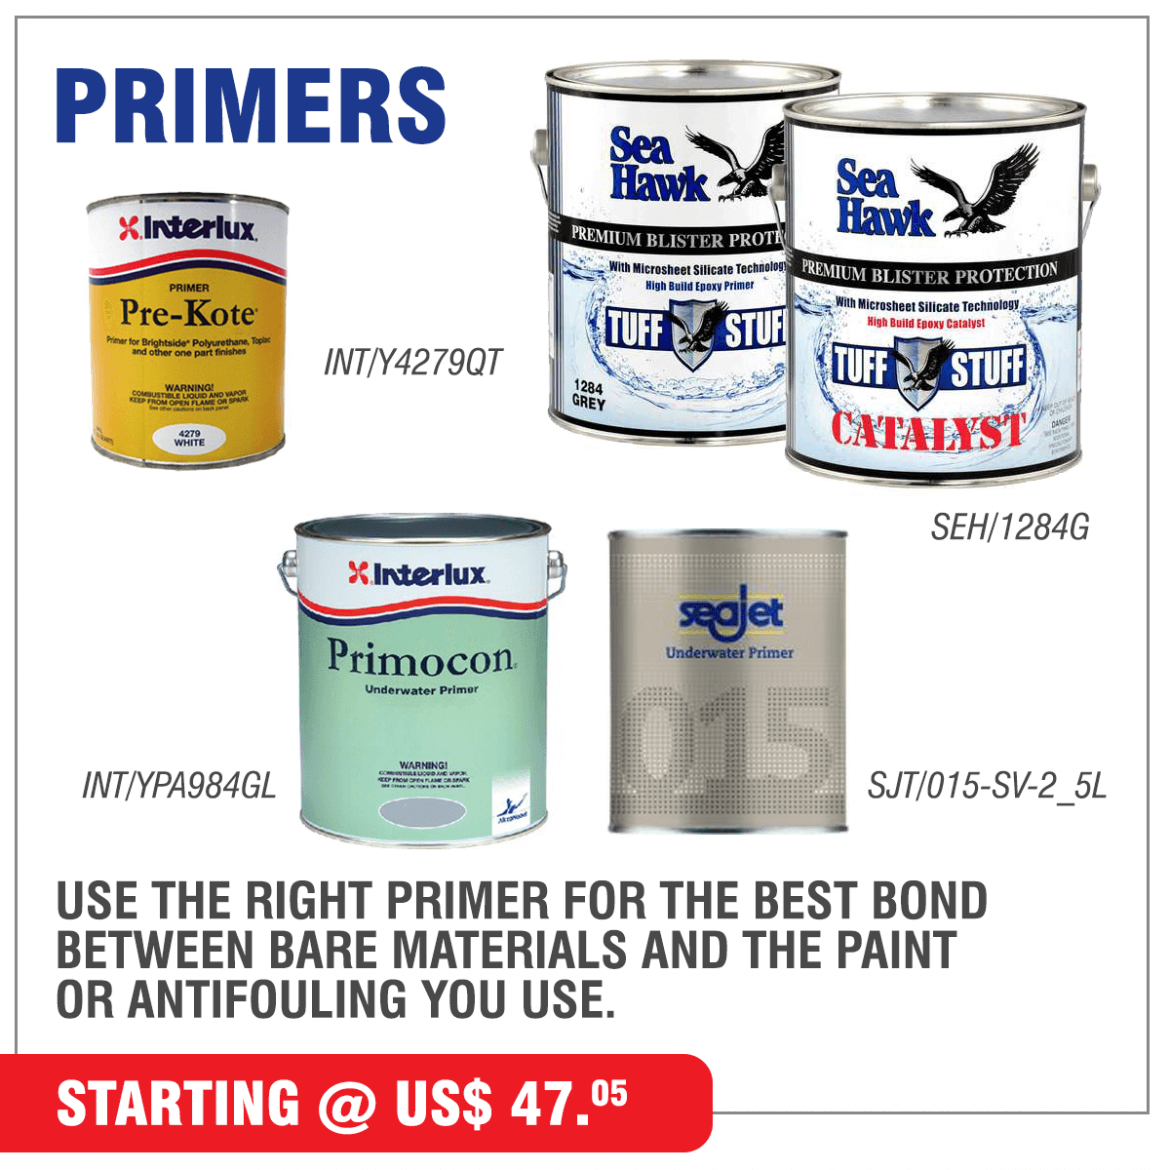
Bare fiberglass should be primed with an antifouling primer appropriate to the type of antifoul. If the hull has been stripped back to the gelcoat, it’s also worth considering applying epoxy coatings to guard against osmosis. If considering this it’s important to first get a surveyor to test the moisture levels of the hull as sealing excess water in with epoxy is counter productive.
With modern antifouling’s there are now fewer problems with using a different type over existing coatings than was the case in the past. However, if you’re at all unsure it’s worth applying primer before the new antifoul as a tie coat.
Keels need special preparation, both to ensure they are perfectly faired, and to give the antifoul the maximum opportunity to remained strongly adhered to the surface. Any rust on cast iron keels should be removed with an angle grinder, such that the surface of the metal is bright. It can then by primed and faired before application of antifouling.
With unpainted lead keels the tarnished oxide layer should be removed rubbing down with emery paper or with a wire brush in a power drill. Then remove the grease and contamination by washing with a suitable cleaner, before initial priming with an etch primer. This can then followed by the recommended primer for the antifoul used.
HARD ANTIFOULING
Hard types of antifoul use biocides that dissolve very slowly in water, so they gradually dissolve as the season progresses. The paint in which the biocide particles are suspended dries to a hard finish, which enables periodic scrubbing during the season to keep the bottom in perfect condition.
This type is ideal for racing yachts that are kept afloat and for fast powerboats. For the latter category especially, attempting to skimp on antifouling is nearly always a false economy: even a small amount of growth results in significantly increased drag and therefore a double whammy of impaired performance combined with much higher fuel bills.
ERODING ANTIFOULING’S
These use a paint that is very slightly soluble in water, so microscopic fragments of it are constantly falling away to exposing fresh biocide. This has the advantage that the build up of layers of antifoul is reduced and tends to be cheaper than hard antifouling’s, but the drawback is it cannot be scrubbed. Eroding types are most suitable for cruising yachts and displacement motorboats.
APPLYING ANTIFOULING
The quickest, and least messy, method of applying antifouling is to use a small-medium pile roller with an extension handle. This keeps you at arm’s length from the paint and minimizes the amount of bending and stooping necessary. It can be tempting to use a larger roller, but these absorb a large amount of paint and with antifouling being expensive the time saved rarely justifies the additional cost. Professional application can also be by spraying, but specialist facilities are essential to avoid the risk of breathing harmful vapors and toxic particles.
As well as accurately masking the waterline, don’t paint zinc sacrificial hull or shaft anodes, as this will wreck their performance. Similarly, remember that aluminium outdrives may need a different type of antifoul to the hull.
When applying antifouling a face mask, overalls, gloves and goggles are needed to protect against contact with the paint. If your overalls don’t have a hood it’s worth wearing a hat as it’s surprisingly easy to rub your head against the underside of the hull, with embarrassing and toxic results.
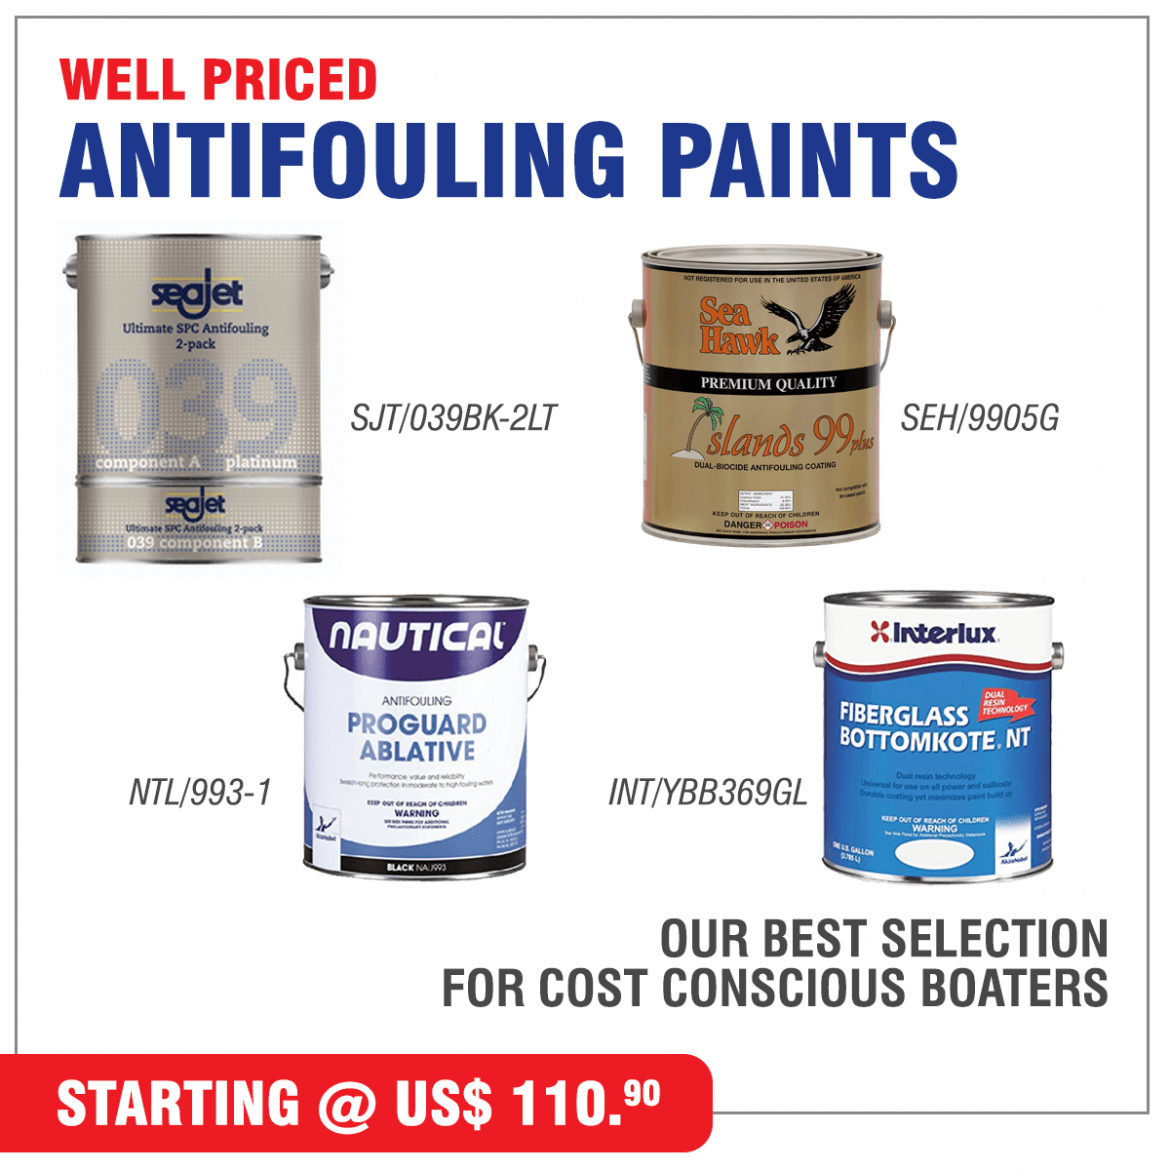
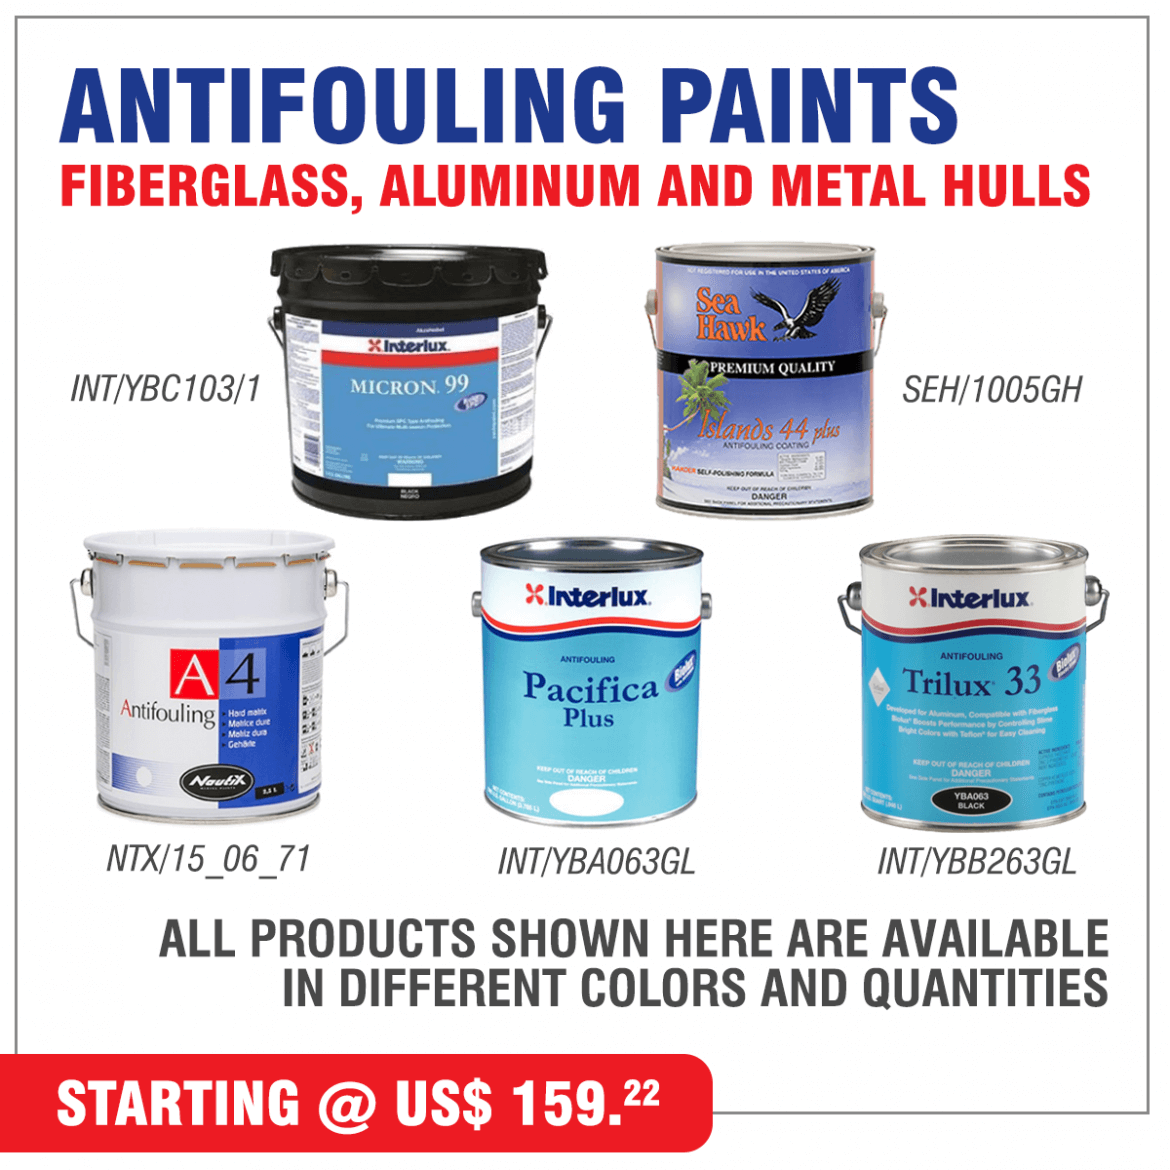
All products shown here exists in different colors and quantities, it is just here to show the correct model.
All Antifouling Paint products can be found at link below.