… I have called it both.
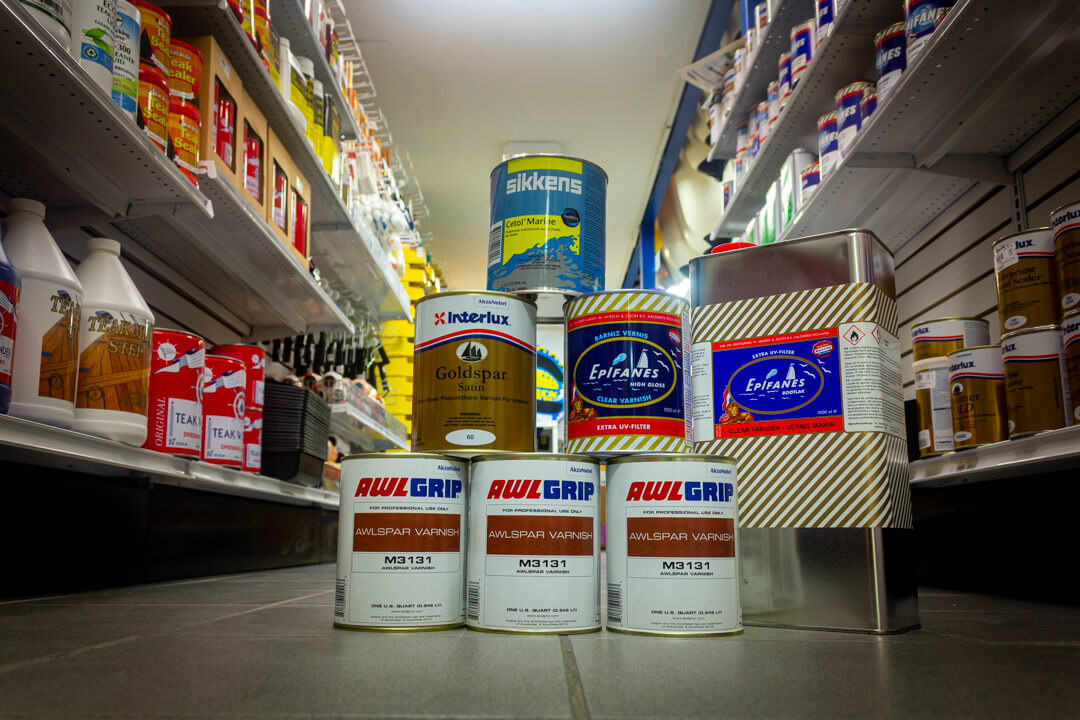
Our 1932 cutter shone with varnish. Twenty two coats on the mast, most applied in situ, and similar amounts on the cabin sides. Several times we stripped everything back to bare wood and started again. And yes, we glowed when people remarked how lucky we were to own such a beautiful boat. But how do you go about applying varnish and keeping it looking bright. Well, if you have deep pockets you hire a team of professionals but let’s assume you’re an ordinary mortal and are doing the job yourself.
You can spray vanish and you can roll it on, but for most people varnishing means using a brush.
Let’s varnish an imaginary teak or mahogany cap-rail that is in such poor condition it needs stripping. How do you strip it with without damaging the wood itself and surrounding area?
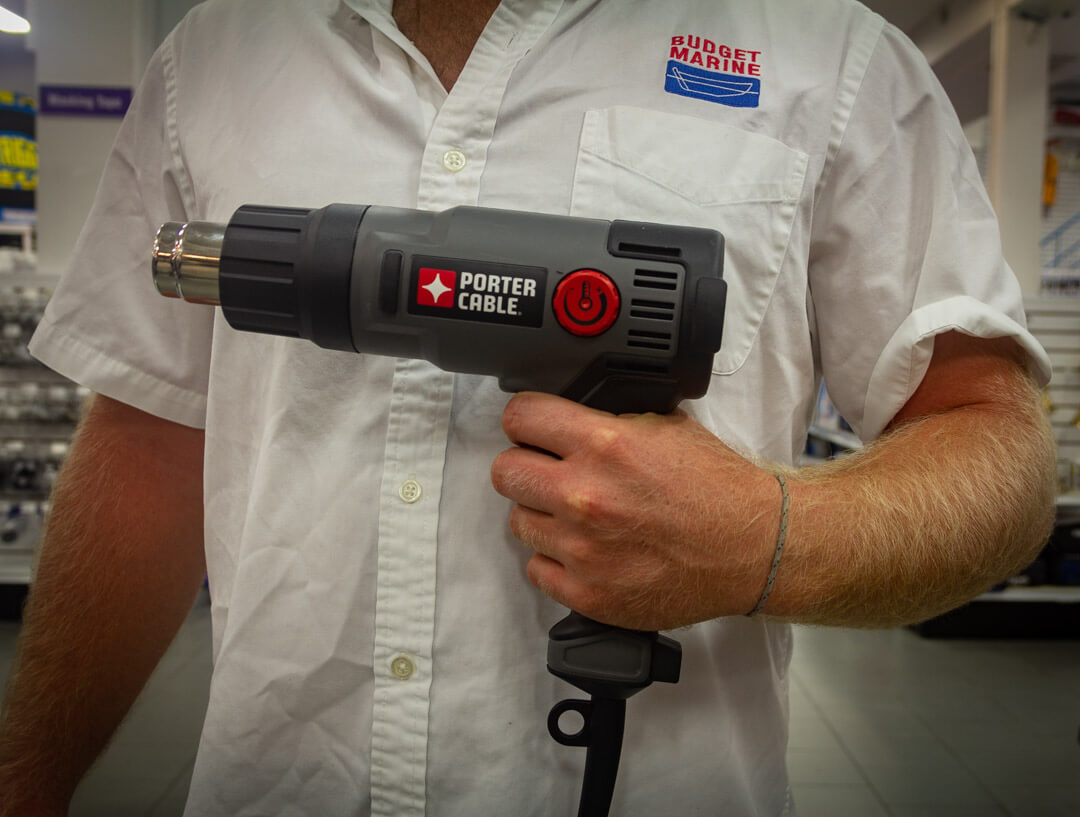
A heat gun and a very sharp scraper would be my first choice. It goes without saying that you must keep the heat to a minimum and protect the surrounding area from damage. Too much heat and you might be thrilled with how rapidly the varnish peels off but you won’t be happy if you scorch the wood. Getting to the edges underneath the cap-rail is the challenge and careful use of the scraper might be the only way to strip this narrow area.
Chemical strippers? I have used them successfully but I don’t like using chemicals at the best of times. Again protect everything that might accidently come in contact with the stripper and stripped varnish, including yourself.
Sanding it off is doable and if the cap-rail is sturdy enough you can bring up the big guns like a belt sander. Again, great care is required to control the sander, if it gets away from you’ll need more than varnish to fix the damage. Go with the grain and use fine grit paper unless the cap-rail is seriously beat up and you deliberately want to remove the top surface of the wood. A word of caution, rough/course sanding will score the wood and getting those scores out will take hard work. If you don’t get them out then they might show though the finished job.

When you are down to bare wood it’s time to make any repairs, like replacing damaged or loose screw plugs.
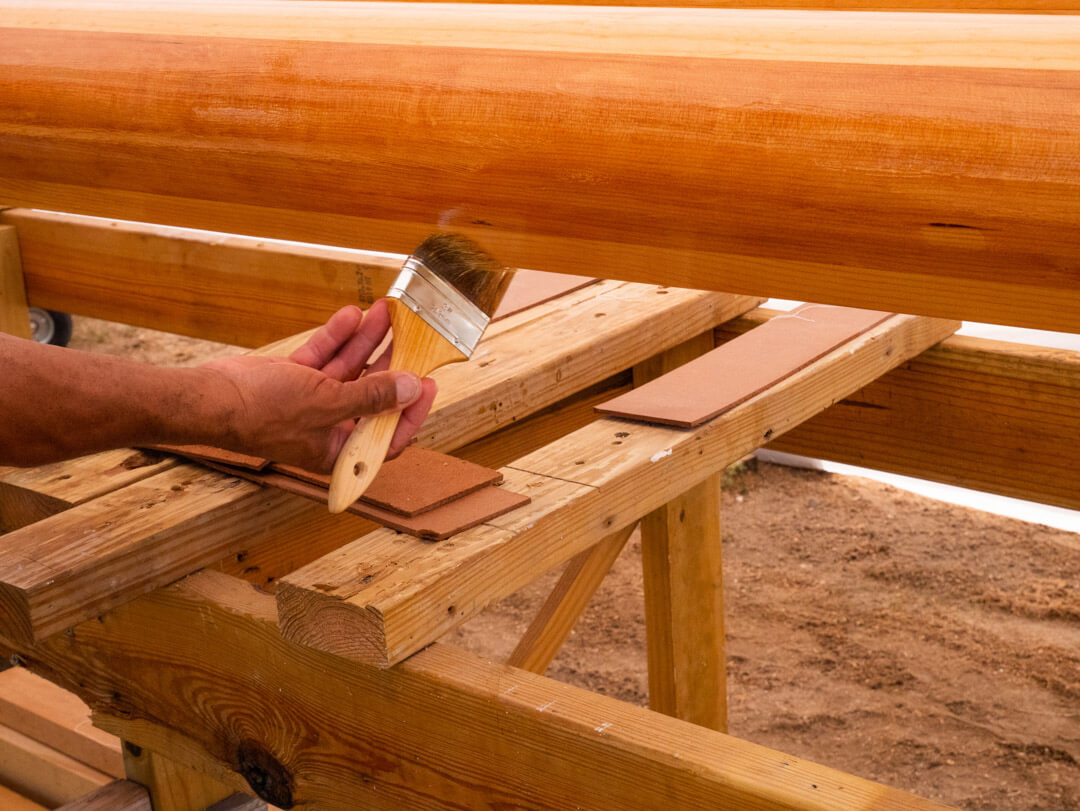
Varnish bare wood as soon as practical, left bare the grain will roughen and weather quite quickly.
Assuming you stripped the wood using a heat gun then the surface should be in good condition. There is some debate as to what grit paper you should now use to key the wood before applying the ‘primer’ coat. Again, depending on the condition of the wood, I would use 180 to 220 grit paper, and on a large flat surface I would use a sanding block to avoid your fingers causing ‘valleys’. Vertical surfaces might benefit from the use of courser paper, keying the wood a little deeper to prevent the varnish sagging.
Remove all the dust and wipe down with mineral spirits. Having followed the manufacturer’s instructions on the can re primer coat, i.e. thinning the first coat so that it penetrates the wood, you can begin applying the varnish. Note: some manufacturers recommend using their own primer coat as part of their varnish system especially on oily wood like teak.
A word about brushes. A quality badger-hair brush is standard amongst professional varnishers. They aren’t cheap but with all the work you are investing in your project they are worth it. I have had success with foam brushes, but for the best results you can’t beat a badger.
Do not stir or shake the varnish in the can, you will introduce bubbles. Pour some varnish into a separate container and apply out of that. Manufacturers say not to pour unused varnish back into the can (although occasionally, when short of money, I have done this with little problem).
When the first coat has dried, it’s time to start building up the layers. The more layers, the better the protection and deeper the gloss. Carefully sand with 220 grit paper between coats, don’t press on hard or you’ll sand through the varnish, you are just looking to remove the gloss and keying it for the next coat. Wipe down, and apply the next coat. How many coats is up to you. I would say five on bare wood, two if applying maintenance coats.


When brushing, brush back into the varnish so that you maintain a wet edge. Leave any insects that land on the wet varnish, they come off much easier when you re-sand and won’t leave a mark. During early build-up, and to speed things up, you can apply a second coat directly on top of the first without sanding once it’s tacky. It’s a recognized technique but be careful. When it comes to the finishing coats apply one at a time.
Like all coatings, chose your time of day before applying. Rain will turn fresh varnish milky, so will humidity so don’t leave it too late in the day before starting the job. Avoid varnishing in direct sunlight, especially in the tropics.
Essentials:
Cabinet scrapers (keep them sharp)
Nice to have:
Cabinet scrapers, one triangular and one with a curved edge, (sometimes hard to find)